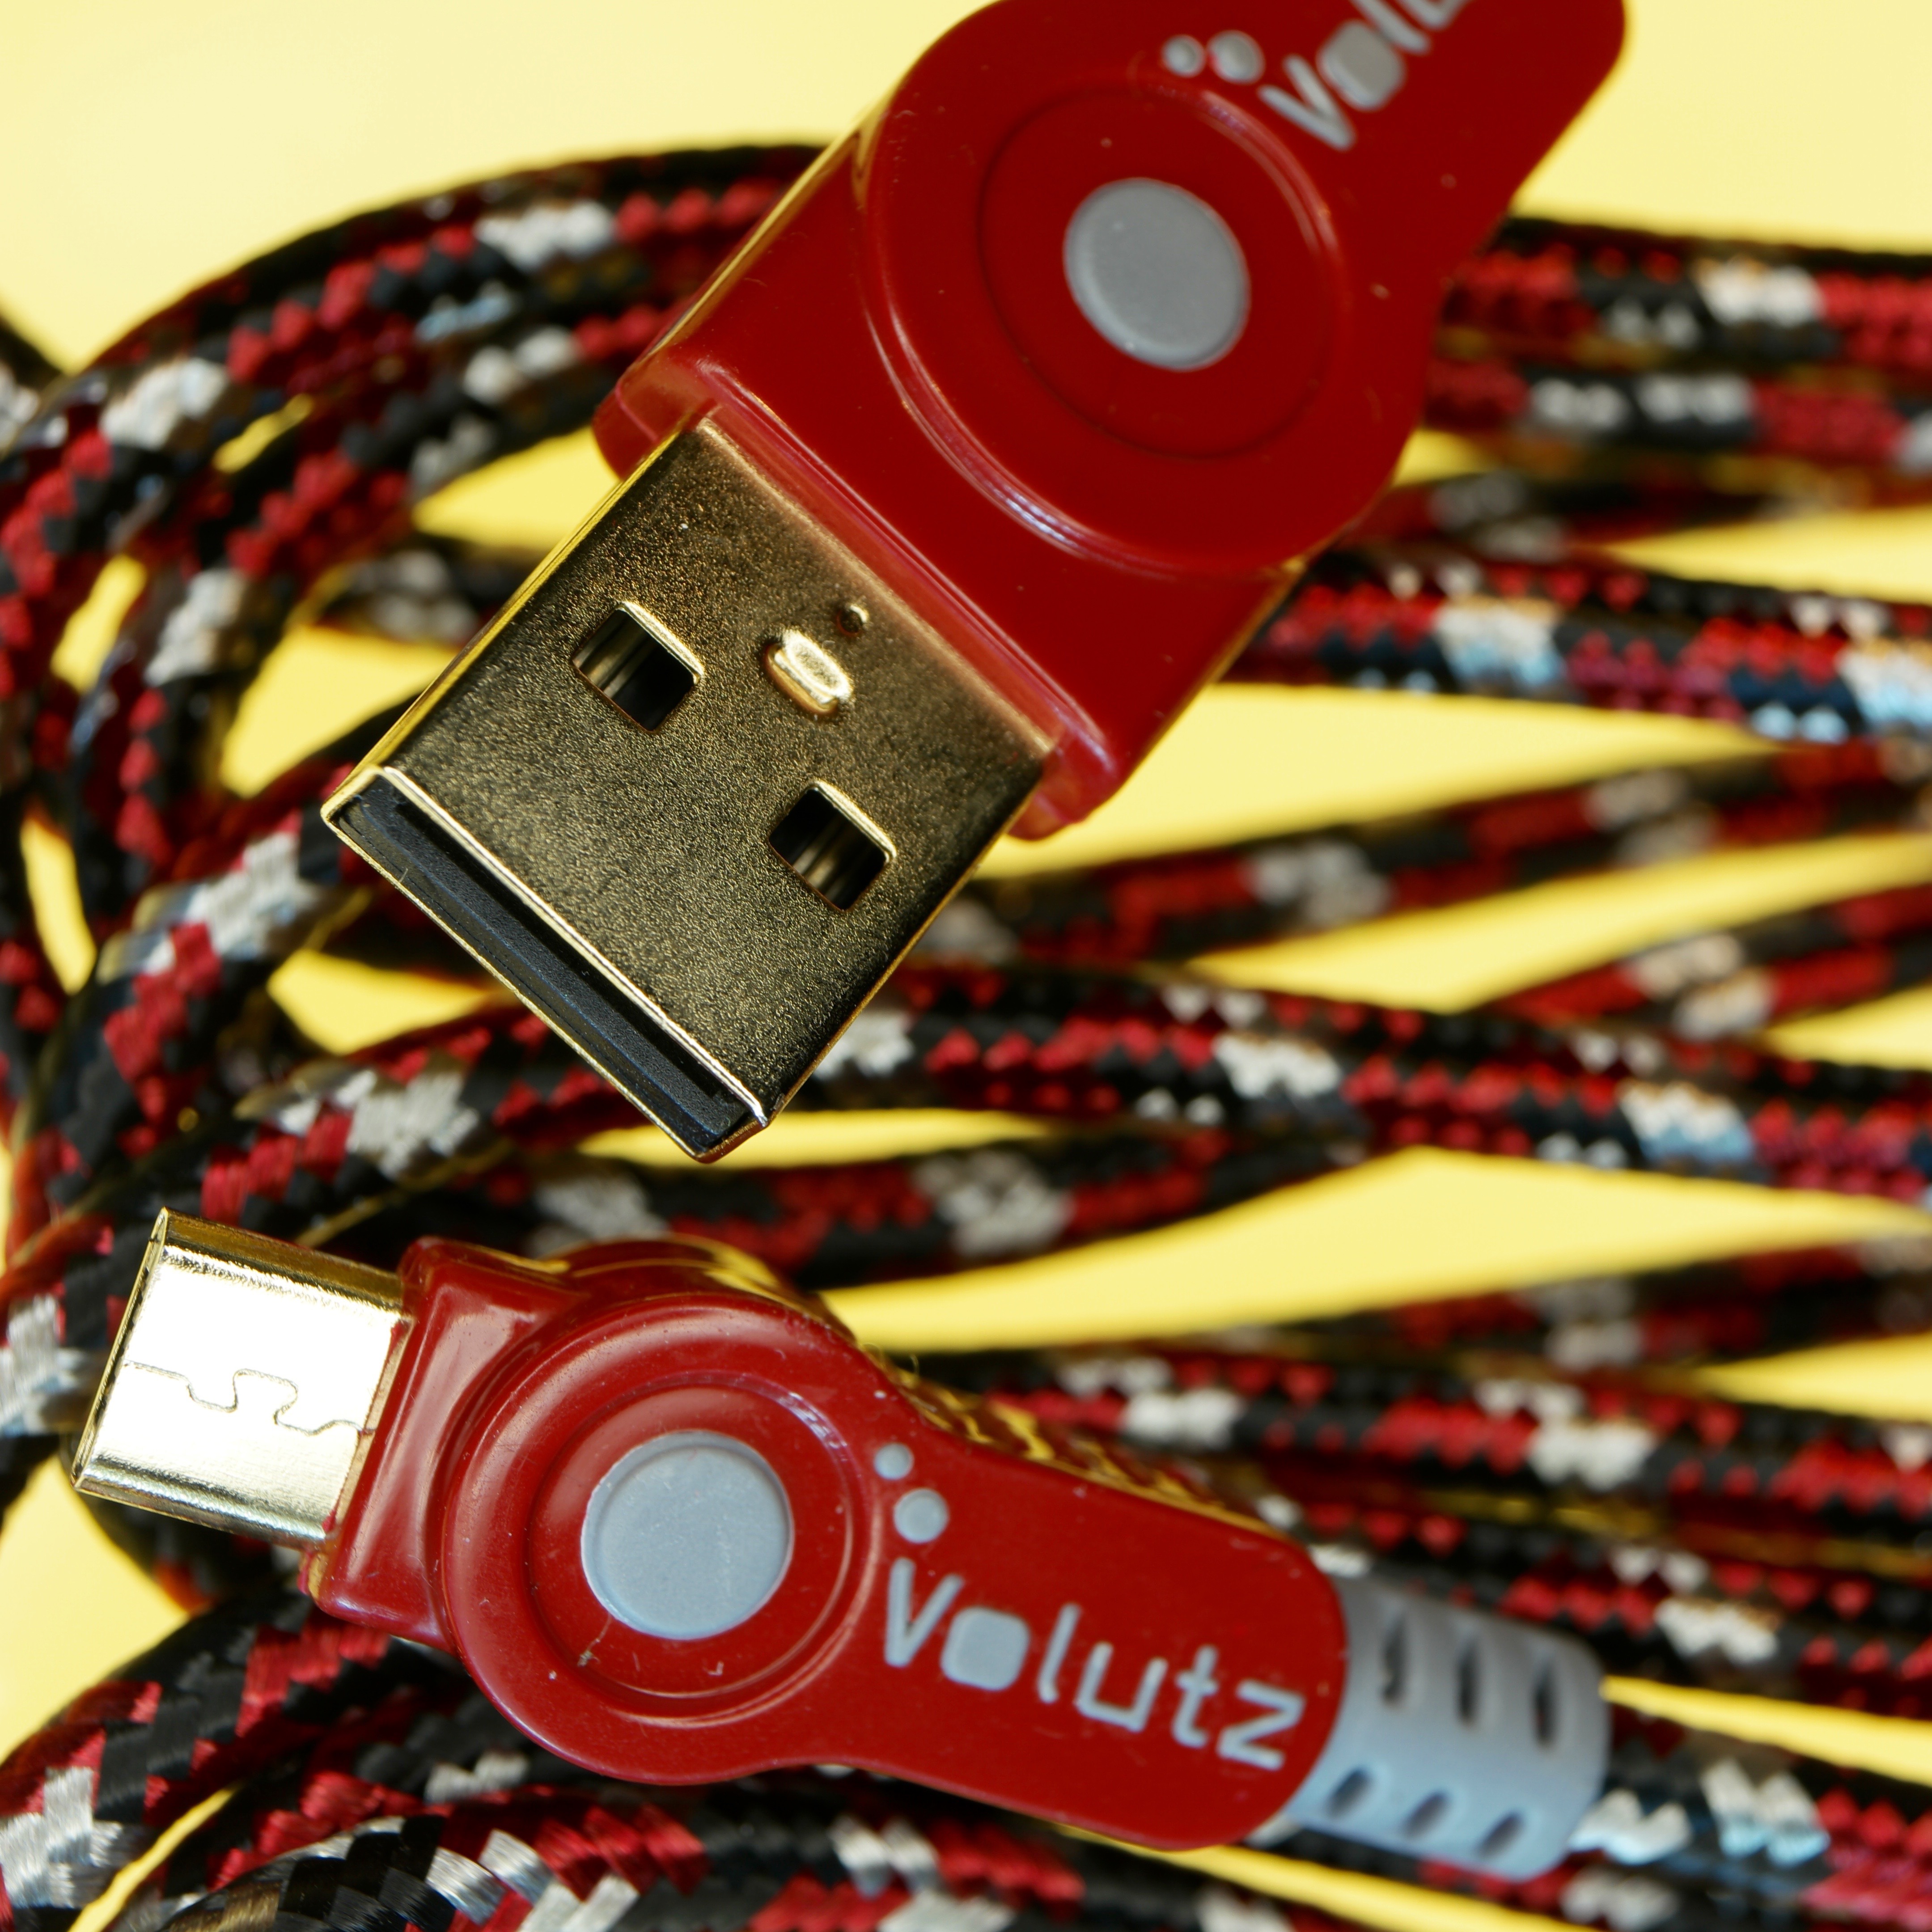
Close view of cable connectors placed side by side for a pre-transfer setup check.

Mobile Transfer Compatibility Guide: EPDA/EPC Devices, Cables, and OS Checks

A clean Mobile Transfer setup usually depends on three boring things being correct at the same time: the device, the cable, and the system that is supposed to notice both. That is the whole point of this guide. Verify those pieces before you attempt a transfer, and you avoid the very common “it connects, but not really” detour.

Most people who land here are trying to answer a short list of practical questions:

  • Is my device actually the right EPDA or EPC family for the transfer I want?
  • Do I have the correct cable and connector ends, or just a cable that looks close enough from across the desk?
  • How do I confirm my operating system or browser recognizes the connection instead of just charging the device?
  • What details should I record before I ask Support for help?

This article stays in pre-flight mode on purpose. It is not a full repair manual. It is the quick map you use before you connect anything so you can confirm the setup makes sense. If you want a broader starting point first, the main Mobile Transfer overview is the best first stop.

Checking the correct cable connector for Mobile Transfer EPDA/EPC.
Use a visual comparison before you connect: both cable ends should match the device side and the host side you plan to use.

Quick start: the 60-second pre-flight checklist

If you only want the short version, check these three categories before you touch the transfer button:

Check What to look for What it means
Device and port Exact model or series name, the correct physical port, and any setting that enables transfer mode You are starting with hardware that can present the connection Mobile Transfer expects
Cable and connector Both cable ends match the device side and the host side, and the connector seats fully with no wobble The physical path can carry data, not just power
OS and browser recognition The computer, app, or browser shows a connected device entry or a ready state, and any prompts are allowed The system can actually use the connection instead of pretending nothing happened

Stop and check rule: if any one of those three categories does not match, do not proceed yet. A transfer attempt on top of a mismatch usually produces confusing symptoms instead of useful answers.

If you landed here from search and want the broader picture first, start with the homepage overview, then come back to this checklist with the device and cable in front of you.

If you already know you are stuck, go straight to Support. If you want the checklist version first, keep moving section by section below.

Device compatibility checklist (EPDA vs. EPC)

The plain version first: EPDA and EPC are different Mobile Transfer connection families. On this site, the useful distinction is not the letters themselves. It is the connection expectation around them. EPDA is usually treated as the more device-focused path, while EPC is usually the more computer-assisted path. That is enough to make a practical compatibility check without inventing technical lore.

Start with the device in your hand and confirm these items:

1. Model and series check

  • Open the device label, About screen, or system information area and record the exact model or series name.
  • Do not rely on a family nickname like “the older unit” or “the office PDA.” Support cannot do much with that, and neither can future you.
  • If you are choosing between EPDA and EPC, use the exact model as the anchor for the rest of your checks.

2. Port type check

  • Look for the physical port you intend to use and confirm it is the one meant for data or transfer, not only charging or power input.
  • Check the shape of the port and compare it with the cable end you plan to use. Similar-looking connectors are responsible for a surprising amount of false confidence.
  • If the device has more than one port, confirm which one is intended for the transfer path before you connect anything.

3. Supported feature check

  • Look for a mode, menu, or setting that exposes the device for transfer, syncing, or connection access.
  • Keep the device awake and unlocked if the setup expects a prompt before the connection becomes active.
  • If the device never offers a transfer-related prompt or mode, treat that as a compatibility question first, not a cable failure.

A good quick test is simple: can you clearly identify the model, the intended port, and the setting that allows the connection? If the answer is no to any of those, pause there. That is the doorway you need, not a more forceful cable insert.

One practical habit helps here: put the device, the cable, and the host computer in front of you at the same time before you start. Then compare what you think the setup is with what is physically present. A surprising number of compatibility problems are really inventory problems. The intended device is different from the one on the desk. The expected port is covered, disabled, or on the other side. The “known good” cable is actually the backup charging cable from another workflow. That kind of mismatch feels silly only after you spot it.

If you want the broader service context around these connection paths, the Mobile Transfer page explains the workflow in higher-level terms.

Cable & connector checklist: match the ends, then confirm the fit

This is the section that saves people the most time because the cable is often the quiet culprit. A cable can charge a device, sit there looking respectable, and still be the wrong tool for the job. Cables are very good at acting innocent.

Match the cable ends first

  • Confirm one end matches the device port you just checked.
  • Confirm the other end matches the host side expected by your Mobile Transfer setup, whether that is a laptop, desktop, or another supported endpoint.
  • If an adapter is involved, only use it when your setup explicitly calls for it or you can verify it preserves the data connection you need.

Then confirm the fit

  • Seat the connector fully at both ends. A partly seated connector often gives you power but not a stable transfer path.
  • Look for alignment, a firm insertion, and no side-to-side wobble once connected.
  • Check the cable jacket and connector heads for bent shells, damaged keys, or looseness around the strain relief.

Common cable mistakes to rule out

  • Wrong end: one connector matches, the other does not.
  • Charge-only cable: the device charges, but the computer never shows a usable data connection.
  • Partial insertion: the connector looks attached but is not fully seated.
  • Damaged connector: the cable fits loosely or shows bent or missing internal contacts.
  • Look-alike mismatch: the connector looks close enough until you compare the shape and keying carefully.

What “correct” usually looks like:

  • The connector aligns cleanly before insertion.
  • The fit is firm, straight, and steady after insertion.
  • The device and host both respond when connected.

What “not quite” looks like:

  • You need to angle or force the connector.
  • The connection feels loose or drops if the cable shifts.
  • The device charges, but nothing appears in the system status area.

If the cable fit is uncertain, do not move on to software guesses yet. Re-check the physical match first. It is usually faster than a round of reinstalling things that were never the problem.

OS & browser checks: confirm recognition, not just connection

Once the device and cable look right, move to the part people skip: confirm the system actually recognizes the connection. A powered cable alone does not mean Mobile Transfer can use it.

What to check in your operating system

  • Open the system area where connected hardware is listed, such as device settings, system information, removable devices, or the connection status area used by your workflow.
  • Look for a new device entry, connected accessory, or transfer-ready state after you plug the device in.
  • If nothing changes in the system view, go back to the cable, port, and device checks before blaming the transfer software.

Where to look, in plain language

  • On a computer, look in the place where connected hardware normally appears: device lists, storage views, accessory panels, or a system information screen.
  • In a browser-based workflow, look for a chooser prompt, a site permission prompt, or a browser settings area that shows whether device access was allowed or blocked.
  • Inside a transfer app, keep the connection panel open and watch for a status change instead of assuming the connection worked in the background.

What to check in your browser or app

  • Watch for permission prompts that ask to access a device, files, removable storage, or a connected accessory.
  • Allow the relevant prompt when it matches the action you are trying to perform.
  • If a browser or app has a connection status panel, leave it visible and confirm whether the status changes to connected, ready, detected, or similar language.
Example of connection status screen used for compatibility checks.
A status screen should change state when the connection is recognized. If it stays on a waiting or not connected state, revisit the checklist instead of guessing.

What “good” looks like

  • The operating system shows a connected device entry or a clear hardware response.
  • The app or browser changes from not connected or waiting to a recognized state.
  • You have accepted any trust or permission prompts required for access.

What “not ready” looks like

  • The device only charges and nothing new appears in the system.
  • The browser or app never moves past waiting, blocked, or not connected.
  • A permission prompt was dismissed, denied, or never shown because the device was locked.

Permission prompts worth noticing

  • Trust or allow prompts on the device: these often appear only when the device is unlocked.
  • Browser access prompts: if you deny one by accident, the browser may remember that choice until you change it.
  • App-level access prompts: some apps need explicit access to files, removable media, or connected accessories before the status can move beyond waiting.

Avoid the easy assumption: if the OS does not recognize the device, that is still a compatibility check. It is not evidence that Mobile Transfer itself failed. The software cannot use a connection the system never presented.

For a broader collection of short answers around setup wording and status checks, the FAQ is a good companion page.

Common “it won’t connect” causes, mapped to compatibility checks

This is the short diagnostic map, not the long troubleshooting post. Use it to decide which checklist section to revisit.

What you see Most likely compatibility check What to re-check
It charges, but the transfer never starts Power vs. data confusion Return to the cable and connector section and verify the cable supports data transfer
The device has multiple ports and one does nothing Port mismatch Return to the device section and confirm the correct physical data or transfer port
The connector will not seat cleanly or feels loose Cable mismatch Return to the cable section and compare both connector ends again
The OS never shows the device at all Recognition failure Return to the OS and browser section and confirm prompts, recognition, and status changes

The point is to narrow the cause without turning the check into a full troubleshooting marathon. If the connection is failing at the power, port, cable, or recognition layer, that is where the answer usually lives too.

If you need the longer repair path after this, that is the point where it makes sense to move from compatibility checks to actual troubleshooting. Until then, this shorter map keeps you from solving the wrong problem in the wrong order.

How to document your setup for faster support

If the checks still do not line up, the next useful move is documentation. Good support notes save a surprising amount of time because they replace “I think” with things you can actually verify.

Write down:

  • Device model and series name
  • Whether you are using the EPDA or EPC path
  • Cable and connector type on both ends
  • Any adapter or hub in the chain
  • Host operating system and version
  • Browser name and version, if the workflow uses one
  • What the connection status screen says before and after you connect
  • Whether the OS shows a connected device entry

What not to guess:

  • Do not estimate the cable type if you can inspect the connector or packaging.
  • Do not write “should be compatible” unless you also recorded what the system actually recognized.
  • Do not skip the exact status wording. “Not connected,” “blocked,” and “unsupported” point to different next checks.

It also helps to record what changed after each single check. For example:

  • Did the OS show a new device entry after switching cables?
  • Did the status change after unlocking the device?
  • Did the browser prompt appear only after reconnecting to a different port?

Those small observations matter because they tell support whether the problem is still sitting at the device, cable, or recognition layer. A short note like “same cable, new port, device now appears in system view but app still says not connected” is much more useful than “still broken.”

Copy/paste template for Support or Contact

Device model/series:
Transfer path: EPDA / EPC
Device port used:
Cable type and connector ends:
Adapter or hub used:
Host OS and version:
Browser and version (if applicable):
What the OS shows when connected:
What the connection status screen shows:
Prompts allowed or denied:
Anything that changed after reconnecting:

Here is what a strong first message usually looks like in practice: “EPC path, Device Model X, transfer port confirmed, USB data cable with no adapter, Windows shows the device, browser prompted once and was allowed, status screen still says not connected.” Short, plain, and very hard to misunderstand.

Send that note through Contact if you need a direct handoff, or start with Support if you want compatibility help first.

If your team eventually turns this checklist into an internal intake form, Flatlogic’s web app generator is a useful resource for sketching a simple status-capture tool without changing your public workflow.

FAQ mini-section

Do I need a special cable?

Not always a special cable, but you do need the correct data or transfer cable for the device port and the host side you are using. Start with the cable checklist above and confirm the ends match and seat fully.

Will it work on my OS version?

The safest answer is to confirm recognition rather than rely on assumptions. Check whether your operating system shows the connected device, whether the browser or app asks for permission, and whether the status indicator changes to a ready or connected state.

How do I confirm the port?

Look at the device itself first: identify the intended transfer port, compare its shape with the connector you plan to use, and then confirm the OS notices the connection after you plug it in. If the port is correct but the system never reacts, revisit the cable and recognition checks before moving on.

If you prefer shorter answers before you document the setup, the site FAQ is the right next stop.

Need help?

If you worked through the checklist and still cannot confirm compatibility, send the documented details instead of another guess. That gives the support team something concrete to work from and keeps the next reply useful.

Start with Support for compatibility questions, use Contact for a direct request, and keep FAQ open if you want quick-reference answers alongside the checklist.