Mobile Transfer Support: Choosing the Best Cable Length and Routing for Reliable Transfers
Why Cable Length and Routing Matter
When a transfer suddenly pauses, most people assume the device is being dramatic. Often, the cable is the real troublemaker. A tiny disconnect can happen when the connector shifts, the cable gets tugged, or the line picks up noise from nearby power gear. Those little hiccups are easy to miss, but they can turn a calm transfer into a stop-and-start session.
Think of it as the cable version of trying to balance a spoon on your knee while walking. It might work for a second, but nobody feels relaxed about it.
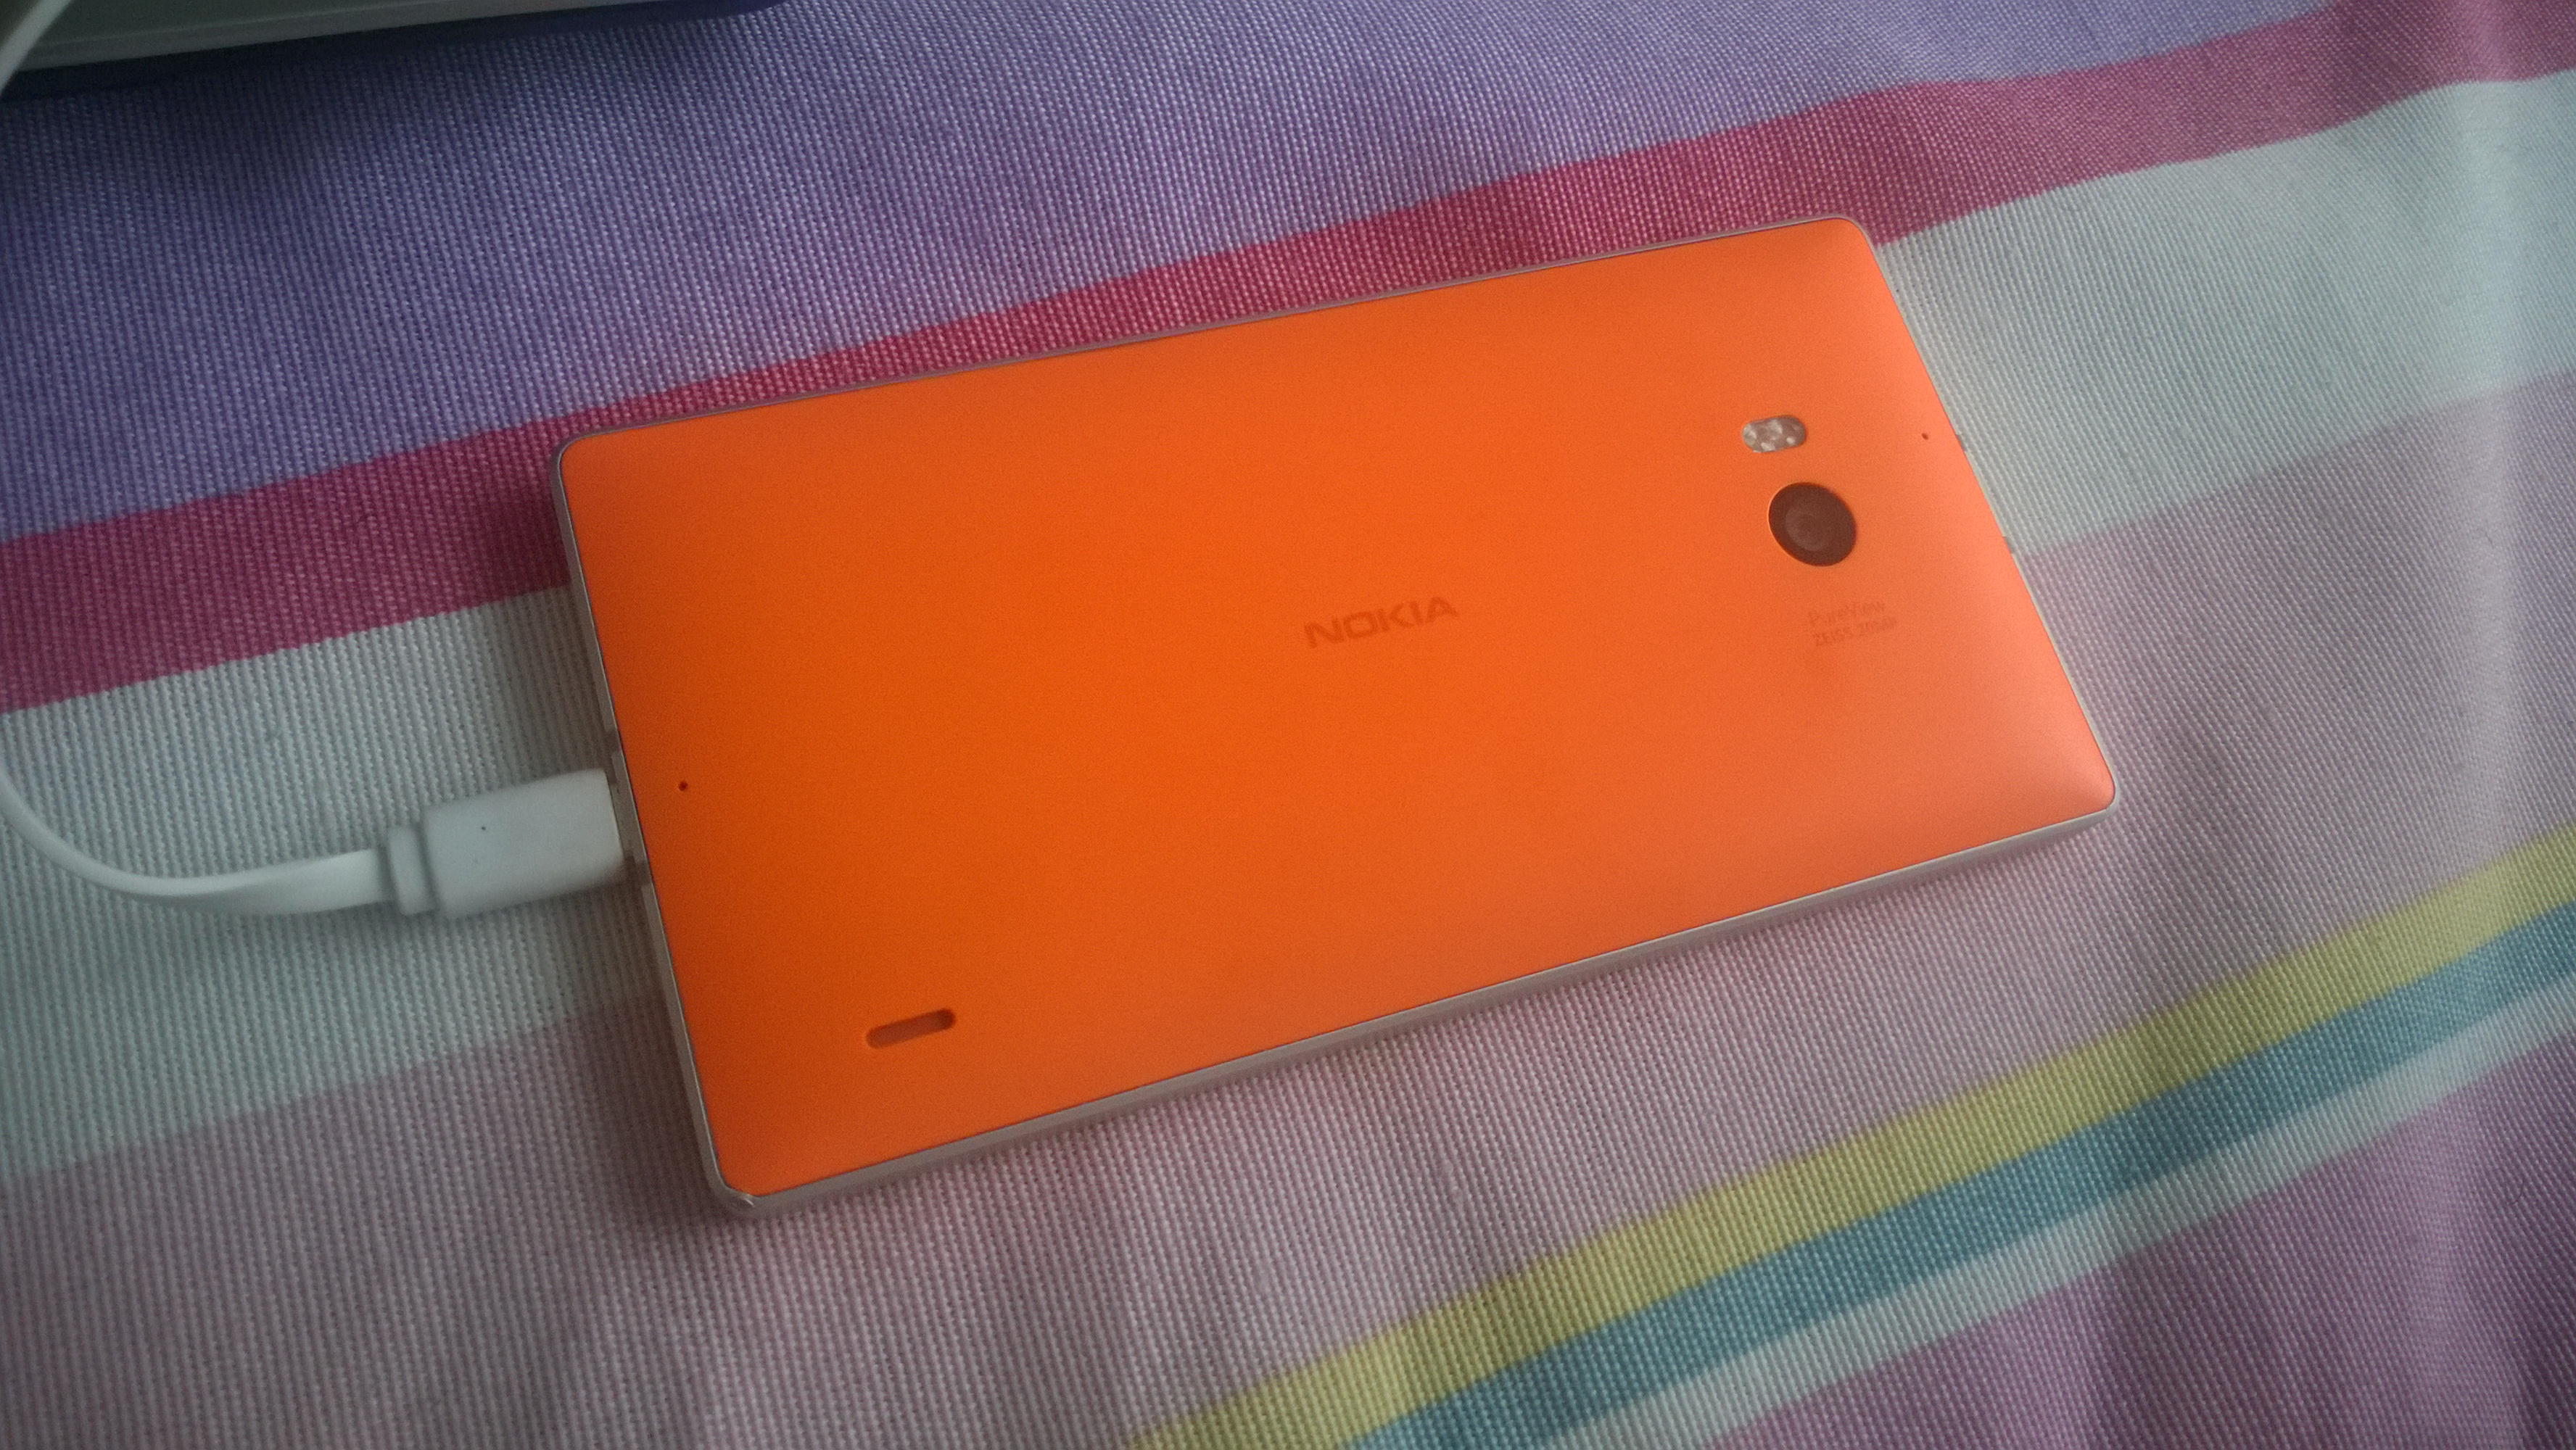
For a stable setup, the goal is not the shortest cable possible. It is the cable that reaches comfortably without pulling on either device. Too much tension can loosen the connection; too much slack can invite tangles, sharp bends, and accidental snags.
How to Choose the Right Cable Length
Use the simplest rule first: the cable should reach with a little breathing room, but not so much that it coils itself into a nest. If the phone or device has to be nudged into position to make the cable fit, the cable is probably too short. If the extra length keeps slipping off the desk, the cable is probably longer than needed.
- Choose a length that allows the devices to sit naturally, without strain.
- Leave enough slack for small movements, but not enough for the cable to be stepped on or pinched.
- If your workspace is awkward, test the setup before starting the transfer, not halfway through.
For many desk setups, a medium-length cable works best because it gives you flexibility without turning the cable into a loose jump rope. If the cable must stretch across a room, that is usually a sign to rethink the layout.
Best Routing Practices
Routing is just the path the cable takes from point A to point B, but that path matters more than it sounds. A clean route keeps the cable away from heat, pressure, and things that like to tug. Nearby power bricks and chargers can also create a messy cable zone, so it helps to keep data cables separated where possible.
Good routing habits include:
- Keeping the cable away from power adapters and bulky charging bricks.
- Avoiding sharp bends right at the connector.
- Not trapping the cable under a laptop lid, phone case edge, drawer, or door.
- Using cable ties or Velcro straps to guide extra slack instead of stuffing it into a corner.
If you want a quick plain-language reference on cable handling basics, the Belkin support guide on cable care is a useful sanity check. For a broader look at physical-layer connection issues, the USB cable overview covers why bends, wear, and connection quality matter.
Strain Relief Checklist
Strain relief means giving the connector some backup so it is not taking every tug by itself. The connector should sit firmly, but it should not be asked to act like a tiny gym coach holding everything in place.
- Support the connector so the cable is not hanging at a steep angle.
- Use a gentle loop near the device to absorb small movements.
- Secure both ends of the cable if the setup may shift during transfer.
- Check that the cable is not rubbing against a sharp edge or a tight case opening.
A little strain relief can make a big difference, especially during longer sessions. It is one of those small habits that feels boring until it saves the day.
Desk and Bench Setup Recommendations
A stable transfer starts with a stable workspace. Place both devices where you can see the connectors clearly and where the cable can travel in a straight, comfortable line. Keep the area clear enough that nothing can drag the cable by accident.
If possible, leave a bit of airflow around the device so it does not sit in a warm pocket next to chargers, monitors, or other gear. The goal is a setup that looks calm enough to pass a quick glance test from across the room.
- Keep the phone or mobile device on a flat surface instead of balancing it on the edge of the desk.
- Route the cable along the back or side of the workspace, not across a busy path.
- Use one or two soft straps to tame extra slack instead of forcing tight bends.
If you need a home base for setup help, the Support page is a good place to start, and the homepage can point you toward the main service areas. When you are comparing related how-to articles, the blog index is the easiest way to browse.
Troubleshooting When You Suspect the Cable
Before you change settings or blame the device, give the cable a quick physical check. Look for obvious wear, loose ends, or a connector that feels wobbly when seated. Sometimes the fix is as simple as unplugging and reseating both ends with a firmer, cleaner fit.
Questions worth asking:
- Does the cable look frayed, bent, or crushed?
- Does the connector move easily when touched?
- Does the transfer fail when the cable is nudged?
If those answers point to the cable, it may be the simplest thing to replace before you spend more time chasing phantom software problems.
When to Replace a Cable
Cables do not usually announce retirement with a speech. They just get flakier. Replace a transfer cable if you notice loose connectors, visible fraying, repeated disconnects at the same spot, or shielding that looks worn or split.
Quality matters here. A well-made cable with a solid connector often costs less than the time spent babysitting a flaky one. And yes, it is annoying that a small piece of plastic and wire can run the whole mood of your transfer session.
For extra device-handling advice, you can also review the contact page if you need help deciding what to check next.
Quick Recap Checklist Before You Start Your Transfer
- Pick a cable length that reaches comfortably without pulling.
- Keep the route clear of sharp bends, doors, and heavy objects.
- Leave gentle slack and add strain relief near the connector.
- Place devices on a flat, clutter-free surface.
- Inspect the cable for wear before starting.
- Replace any cable that feels loose or looks damaged.
When the cable is routed well, the whole transfer feels less like a gamble and more like a normal task. That is the quiet victory here: fewer surprises, fewer dropouts, and a much calmer afternoon.
If you want more setup guides, browse the blog or reach out through Contact.
USB-IF cable resources can be useful if you want to read the official version of cable-related specs and guidance.